Getting started with the first invoice
This guide will go through how to best get started with creating invoices
In Xena, you only need to set up your company's basic data before you are ready to create your first invoice. Here are some useful tips before you get started.
Organising sales into article groups
Consider how you want to group your sales before you start invoicing. If you sell working hours and materials, for example, you can create two different article groups to see the sales of each type.
You do not need to be an accountant to create article groups in Xena. Create article groups in the menu Setup > Article setup, and select the tab 'Article groups'. The relevant account numbers can be entered later.
Once the article groups have been created, you can start creating articles. An article in Xena represents everything you sell, such as working hours, goods, or licences. Using article numbers makes invoicing significantly faster.
Creating your first invoice
In Xena, all sales are processed through an order. An order can progress through several stages. It typically starts as a quote, is then confirmed as an order confirmation, and can finally be printed as an invoice once the article has been delivered.
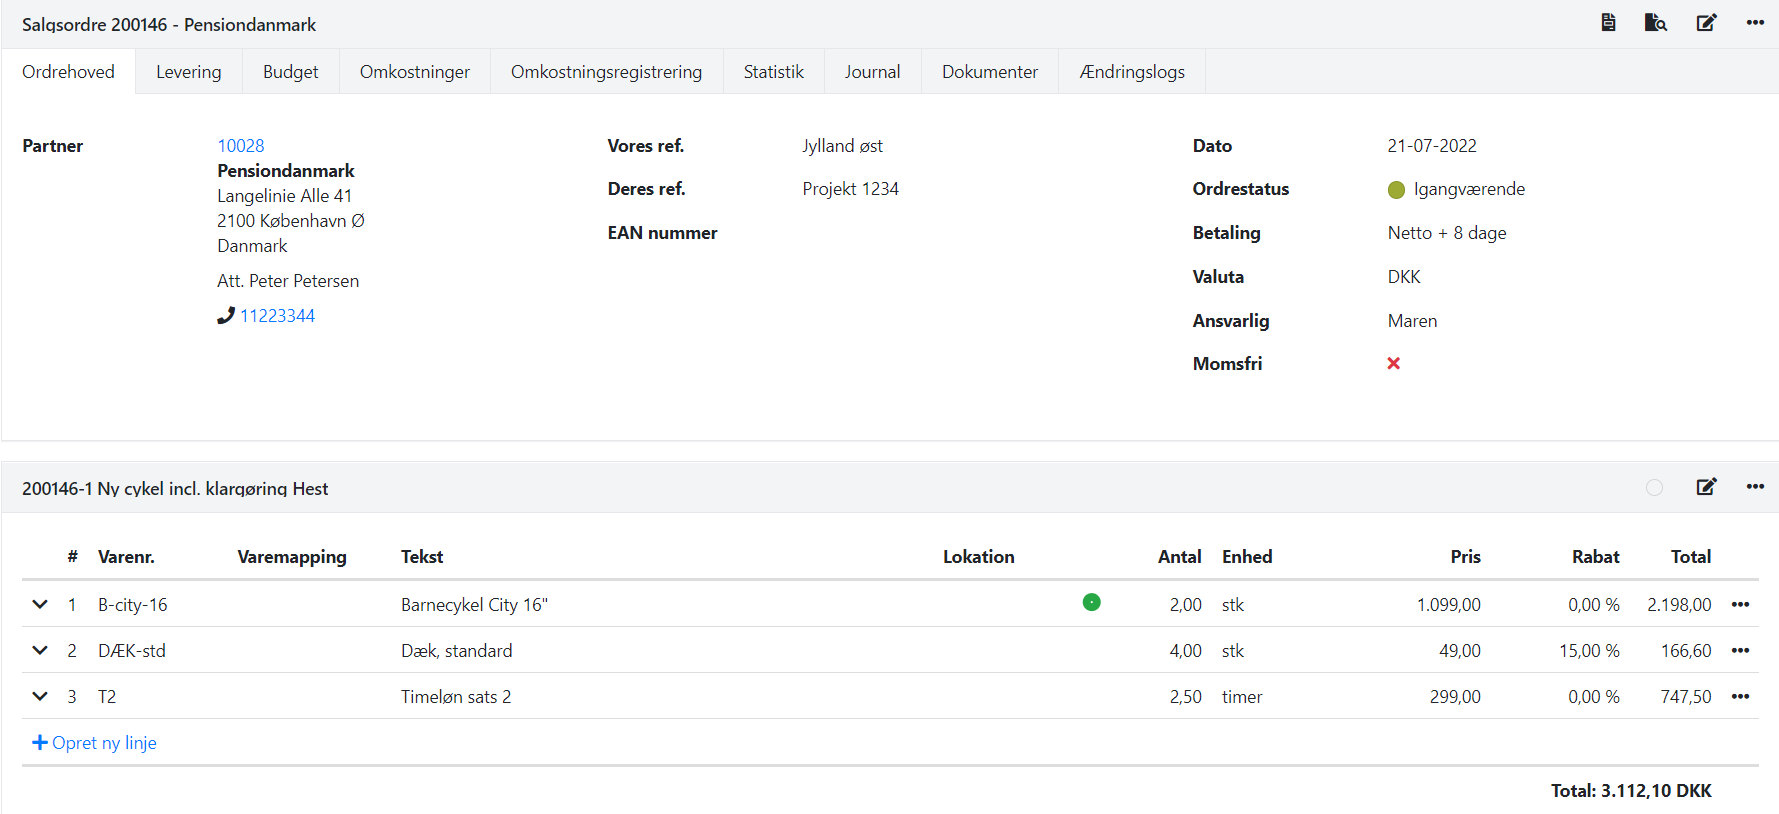
Step 1: Create the order and customer
Go to Sales > Orders > Create order. Select whether the order is for a sale or a purchase, and the system will automatically assign an order number.
Select the customer in the 'Partner' field by searching your existing customers. If the customer does not exist, you can create them by clicking the plus icon. The dialog that opens shows suggestions based on your search. If Xena has no suggestions, you can enter the customer's details manually.
Step 2: Add order lines
Add order lines to the order by clicking '+Create new line'. It is recommended to set up articles in advance, as this makes invoicing faster. Articles can also be created directly from the order by clicking the plus icon in the 'Article no.' field.
Step 3: Generate invoice
Once the order has a customer and order lines, it can be printed or sent by email as an invoice, offer, order confirmation, credit note, and more.
Click the order menu button in the top right corner (the 3 dots) and select the desired output.
Please note: The 'Proforma invoice' output does not post anything — it simply shows a draft preview of the invoice.
Step 4: Get your account verified
Before you can send invoices by email, your Xena account must be verified. To do this, send an email to egbygsupport@eg.dk with your account name and a request to verify and enable email sending.

You are now ready to create and send your first invoice in Xena!
➡️ Next guide: Bookkeeping and accounting
- Updated