Getting started with basic data
This guide helps you set up the basic information about yourself and your company in Xena.
Setting up Xena
Xena is designed to make accounting simple and fast. It only takes a few minutes from creating your user account to printing your first invoice. Customers, suppliers, and the chart of accounts can be set up as needed.
Editing in Xena
To edit data in Xena, you can either click the edit icon (pencil) or double-click the field you want to change. Xena automatically saves your changes as soon as you leave a field. To switch back to viewing mode, click the eye icon.
➡️ Read more: Editing in Xena.
Basic Personal Information
Under My Profile, you can manage your user information, such as username, password, and language settings. Xena supports Danish, English, and Norwegian. Click the user profile icon in the top right corner and select My Profile.
➡️ Read more: Your vCard in Xena.
Basic Company Information
Your company’s basic details can be found under Settings > Company > Company Profile. Here, you can enter the company address, contact information, banking details, and upload a company logo. These details ensure that offers and invoices are correctly formatted.
In the Company menu, you can also find options to view information about your Xena subscription, an overview of users added to the fiscal, and the legal documents you have accepted. For more detailed descriptions, search for guides in ➡️Xenapedia.
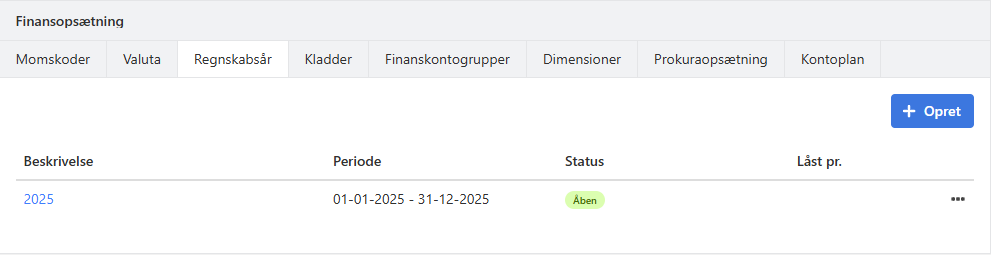
Create financial year
When you create a new company in Xena, one of the first things you need to do is set up your first financial period. This allows you to start posting transactions and issuing invoices without further configuration.
You may already have created the financial year when setting up the company, but if not, you can always create it later. To create financial periods, go to the menu Setup > Finance setup > Financial year.
➡️ Read more about financial periods
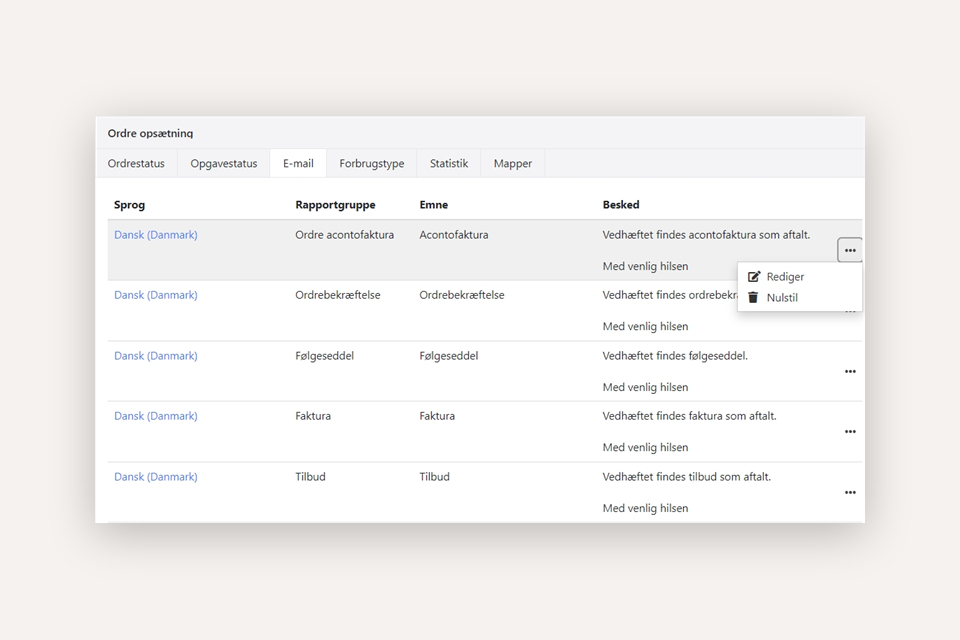
Setting Up Email Templates
Under Setup > Order Setup > Email, you can customize the default email texts for invoices, offers, order confirmations, and more.
Review both the subject line and message for each report type. Edit the email setup by clicking Edit (the three dots) next to the report. If you want to reset to the default settings, select Reset in the menu.
Now, the basic data in Xena is set up, and you are ready to create your first invoice.
➡️ Next guide: The First Invoice.
- Updated